A Merry Christmas To You All

The old bears and I are off for the Christmas period now.

I’d like to take this moment to thank you all,  each and every visitor and new friend…I’ve had visitors from all over the world which is SO exciting to me. A big hello and thank-you to you all.

A massive big FAT thank-you to Jezzer bear who has supported me and made this blog a happy place to be, please take some time to read his fabulous blog (which I can promise you will make you SO hungry) http://jezzerbear.wordpress.com It’s a wonderful blog 🙂

Thank-you for popping by, for reading all I write, and for your kind words.

Wishing you all a HAPPY CHRISTMAS and a wonderful New Year!

Image

We’ll be back before you know it with more tales of bears and other exciting tales.

Love to you all, you lovely bunch.

Edward xx

A whole new Lion

After Lenny the Lion (that’s what we’re calling him now) dried off, I realised he was still horribly matted. Previously his fur had been stuck to his body with grubby ‘matter’ now it had clumped together and it was stuck to his ‘skin’ not good news.

Image

Lenny is made out of a very fine, flimsy, synthetic material; it is a lot like art silk but more plastic-based. It must’ve melted at some point and this left me with very few options when it came to making him ‘nice’ again.

Here he is after his bath, resting on his recovery tea tray:

Image

Pretty matted isn’t he?!

After much consideration I decided to re-stuff him with modern toy stuffing, then see how he looked once he was re-stuffed. After a short while his character really began to shine through.

Image

And I was pleased to find that I felt like all was not lost after all.

So I decided to continue on with his restoration; once he was stuffed and sewn up I stitched his nose back on and gave him a gentle combing, then he was finished

Here he is with his new friend Dino.

Image

He’s looking so much better.

He’s obviously not WHITE, white, but he is a whole new Lion and he is a lovely toy.

From this:

Image

To this:

Image

I removed the old pyjama pouch and completely re-filled Lenny with new toy stuffing – this stuffing meets current fire regulations, helping to make Lenny a toy with a long, safe future ahead of him. Next I closed Lenny’s seams using trusty old ladder stitch and then gave him a final comb over. And here he is – ta-dahhh!

Image

I hope you have enjoyed watching Lenny transform from an alley cat to a big proud Lion!

If you have enjoyed reading, why not follow my blog to keep up-to-date with my restoration projects, you can also follow me on Instagram: edwardscarehomeforelderlybears and Twitter: @edwardsbears

Thank you for stopping by.

Your friend,

Edward xx

Whilst the Cat’s away…

Well, Mr. Lion is currently laying atop of the radiator drying nicely. Although he didn’t come out completely white he has definitely improved and could be put in the ‘Whole new Lion’ category!

Here he is in his bath:

Image

I find it lovely to think there is a Lion in my sink!

As soon as he is dry I will be back with the next steps on his road to recovery.

I have recently joined Instagram, if you are on Instagram please do take a moment to come and find me, it would be lovely to have some new Insta-friends!

That’s it for now,

Edward xx

From a Purr to a ROAR!!!!

If you have read my other blogs you may have noticed a common theme – I am often opening packages containing pretty disgusting examples of well-loved childhood friends of old; today I thought I might share one with you before it fully gets pulled out of the package. It’s an impossibly dark and stormy British day today, and I am using a camera phone to take pictures so I do apologise profusely to you all! One day I will invest in a posh camera (or charge the battery for the one I already have) and beg the sunshine to come out and play, but for today, you’ll have to put up with my terribly dark photographs, sorry friends.

 So here he is, the mystery ‘thing’

 Image

Pretty disgusting, huh! Unsurprisingly this one also smells. It doesn’t smell anywhere near as bad as Kirby but it smells fairly gross. (Old smoke, dust and attic describes it best)

 Can you tell what animal it is, or in fact what ‘thing’ it IS? No? Well it took me a while too. This is its current ‘resting’ pose.

 Image

It looks dead …..

 Image

Upon closer inspection I discovered that this ‘thing’ was once white!

 Image

Urgh, I feel there is a mission ahead.

 Image

The thing is actually a pyjama case. It is meant to be a lion but currently looks (and smells) more like a decomposing dog. I am not sure who he is made by but he looks a lot like the 1930-50s Merrythought and a lot like the 1950s  Alpha Farnell pyjama case lions, do you know? He has a blue label – can you read it? I think I can see the letter ‘K’ first letter, top left but I’m not sure?!

 Image

I am going to do a ‘Kirby’ on him and empty out his stuffing (probably burn it – joke!) wash him until he gleams and then turn him into a toy lion you can play with or display, instead of a pyjama case.

As lovely as a pyjama case is, I feel they are a thing of the past, especially when they look like this. So, in keeping with the spirit of this blog, I am planning to rescue, restore and recycle a scabby old pyjama case lion and turn him into something fit for Christmas..well I hope so!

Again, my apologies for the awfully grainy, dark and unprofessional photos! I will make more of an effort with my next installment to make the story come to life with pictures you can see!

Until then, thanks for stopping by, see you next time.


Edward x

Kirby – Reborn

Kirby eventually dried off..PHEW! After I shampooed him I wasn’t happy with his colour so I decided to try and restore his fur to a slightly darker brown shade using tea. This mostly involved chucking a handful of tea bags into the sink and then leaving Kirby submerged in water soaking it all up for a few hours.

Once fully tea-coloured, I put Kirby back on the radiator and, come the evening, he was ready to stuff!

I have to apologise for the darkness of the following photographs but I was keen to get Kirby finished so I could share him with you.

Here is his body waiting to be sewn up

Image

As mentioned yesterday, I use ladder stitch to sew up my bear seams. Ladder stitch is a really good, strong, stitch that will close your seams up nicely and be mostly hidden from view.

Here is an image of ladder stitch that tells you pretty much all you need to know

ImageThank you to Dolls and Daydreams for this image and for making a great diagram

Image

Kirby’s seams were REALLY frayed, in an ideal situation I would’ve liked to use fray-check, to stop the seams from any further fraying..sadly this time I didn’t have any left to use so we just went with nice, tight, ladder seams.

Soon the body was finished and I quickly moved on to the head (the best bit!) Kirby had no definition of the face when he arrived. His nose was very worn away and his eyes were torn out of the seams, they were hanging off! His little nose was squished down into his head and his ears were stuck to his head – pretty dire.

When I took him apart I decided to completely un-pick the seams and take his ears off. This meant that every seam had to be re-sewn and his ears had to be put back evenly so he looked a little more perky 🙂Image

Once his head had been firmly filled and stitched back up I had a lot of fun getting his ears pinned back in a nice position – as close to the original position as possible!

Image

His ears are held in place with pins here but he already looks very cute – look his features have popped out!

Next I stuffed the arms with wood-wool at the very ends (paw end) and Kapok at the top end, to make it easier to sew them back on. Kirby hasn’t got traditional bear joints, his limbs were (and are) stitched on in one long loop from one side to the other. Many cheaper post-war bears were made that way as bear parts such as wooden joint discs, were scarce after the war and bears were made as cheaply as possible.

Image

Image

Here are a few snaps of his arms in progress (see how wispy the kapok is!)

After his limbs were finished it was so late and so dark but I HAD to photograph him at this stage for you to see because…well, just LOOK at that little happy face! I had sewn his nose on and he came to life!!

Image

What a terrible photograph of him sat up against my sewing box, sorry! But look at how sweet and happy he is!

I had just pinned all his limbs in place and he looked up at me eagerly, as if to say ”Are you sewing me back together now?”

”Yes Kirby, I am”

And so the last thing I did was to double up some black nose floss and re-attach his head to his body, and his limbs to his body and then…..

TAHH – DAHHHHHH

Image

and…

Image

HELLOOOOOoooo!

His nose fabric was so worn away that his nose stitching has little gaps, but that is all part of his personality and it adds to his charm. Bless that sweet little face.

So here we have it:

Image

Kirby – reborn. And he smells sweet.

You can save a lost cause. Any bear can be saved and this just goes to show it. I am so happy with the results and I implore you, next time you see a smelly, disgusting old bear and you think ‘nah‘ just give it a go, it isn’t hard and it isn’t too time-consuming, the one thing it IS, is hugely rewarding and fun!

Thank you for reading…oh, and if you have enjoyed this blog I have two more coming soon you might like.

1. How to turn and old antique pyjama case into a toy you can enjoy!

2. What to do with a dry-rot bear when you can’t afford mohair!

Thanks for all your views, it means a lot.

Your friend,

Edward x

Repairing a near-death bear part 2 – when Kirby had other plans !

Well, I had it all planned out didn’t I..I was going to swing by and tell you how to do the fixing up bit and was going to be all like ”And this is how you do it – taahhhh dahhhh” but no.

NO.

Kirby had other plans. He quite literally went to pieces when I took him to pieces and he sulked..I checked on him this morning and he was still damp/wet. FAIL

Image

Then I went back to him this afternoon and he was dry but his sticky, sticky nicotine fur wasn’t quite right it was clumpy and trampy, boo.

So after much musing about what we should do, we decided that Kirby must go back to the salon, BECAUSE HE’S WORTH IT.

Image

And so I shampooed him, I washed him and I rubbed him until all the baddies went away, PHEW!

Right now he is in the fluffiest dressing gown the salon had and he’s warming himself against a radiator..he’ll be back with you tomorrow.

While he takes it easy I thought I’d at least talk to you about stuffing and sewing – because I know that is exactly what you need right now..I know, Kindness…yup. Not what I promised but if you want to imagine some interval/elevator music, 1950s style then we can carry on like this and it will all be okay.      It will.

Ok, so on to stuffing – Kirby was hard-stuffed with wool-waste as I mentioned yesterday. Wool-waste was a cheap product used post-1930 (depression era) it was great because it could be off-cuts from pretty much any wool product or the fluff fibre, etc. It was a very efficient way to keep your bears nice and firm and it was very green (if you think about it) however, in Kirby’s case, it sucked in all the nicotine stench and became one of the reasons he was so revolting.

When it comes to re-stuffing Kirby, I have decided to go down a more traditional route despite the fact that he is not a jointed bear. I am going to stuff his head with wood-wool (a product made from the shavings of wood) it’s very firm and packs out little faces beautifully. His body will be 50/50 wood-wool and Kapok.

Kapok is a natural product, it’s a seed hair fibre from the kapok tree, it’s pretty horrible to stuff things with because it is SO soft and fly-away, but if you have ever had surgery it is PROBABLY one of the fibres used to pack a wound (pretty cool, huh?) because it is one of those wonder-products!! Sadly though, it does go everywhere, but if you put on your best apron and you suck it up, it is a lovely, soft, non-clumpy way to stuff your bear. Much nicer than standard toy-stuffing (although it doesn’t meet fire regulations so don’t use it in a toy you make and then give to a child..no, no, no, no!)

So here we have KAPOK on the left and WOO- WOOL on the right

Image

Next we need to talk about thread.

Sewing up a bear with a standard cotton is just not a great idea. Cotton is lovely stuff for buttons and sewing cotton but bears are ram-a-jammed with hard stuffing and the bear has to work pretty hard at not falling apart so it needs a decent strong thread to hold it all together. Those very old bears you see with the obvious seams stitched up at the back, would’ve been sewn with something LIKE Gutterman thread. This thread is the answer to all your problems with bear fixing, it is lovely, thick and wonderful and it comes in a wide array of colours, and if I won the lottery I would buy a reel in each and every colour they make just to look at all day long – art in thread form, mmmm!  The best stitch for seams for your bear is ladder stitch (please google this as my explanation will take a million years although I will find a picture of it to post tomorrow to help explain how to do it!) it’s quick, easy and nice and strong and it is very hard to see when done properly..it’s an amazing stitch and one you should learn 🙂

Image

Next you need a decent set of needles. I like two: one sharp and one wool or curved needle. These will help you get through the thicker and thinner parts of your bear seams. A curved sewing needle helps you get into the hard to reach places..there are many of these!

You will also need a prodding device. You can buy one of these but let’s be honest, you are restoring an old bear, you are already going to either have little money because you spent it all on your bear, or you are going to have little money because you are spending it all on fixing your bear! So, I use the round end of an old HB pencil. It doesn’t go through the fabric and it is a decent length to reach down little arms and legs.

You should also have a couple of combs around to GENTLY comb through the mohair, no tugging, just use the wider teeth to gently brush over the top of the mohair until it is nice and glossy again.

Lastly you are going to need some biscuits. REALLY.

So I am off to check on Kirby’s drying progress now, if sucessful, I will return tomorrow with the next stage in repair! woo-hoo!

Thanks for stopping by and taking the time to read my post.

Your friend,

Edward x

How to save a near-death teddy from the bin – Kirby

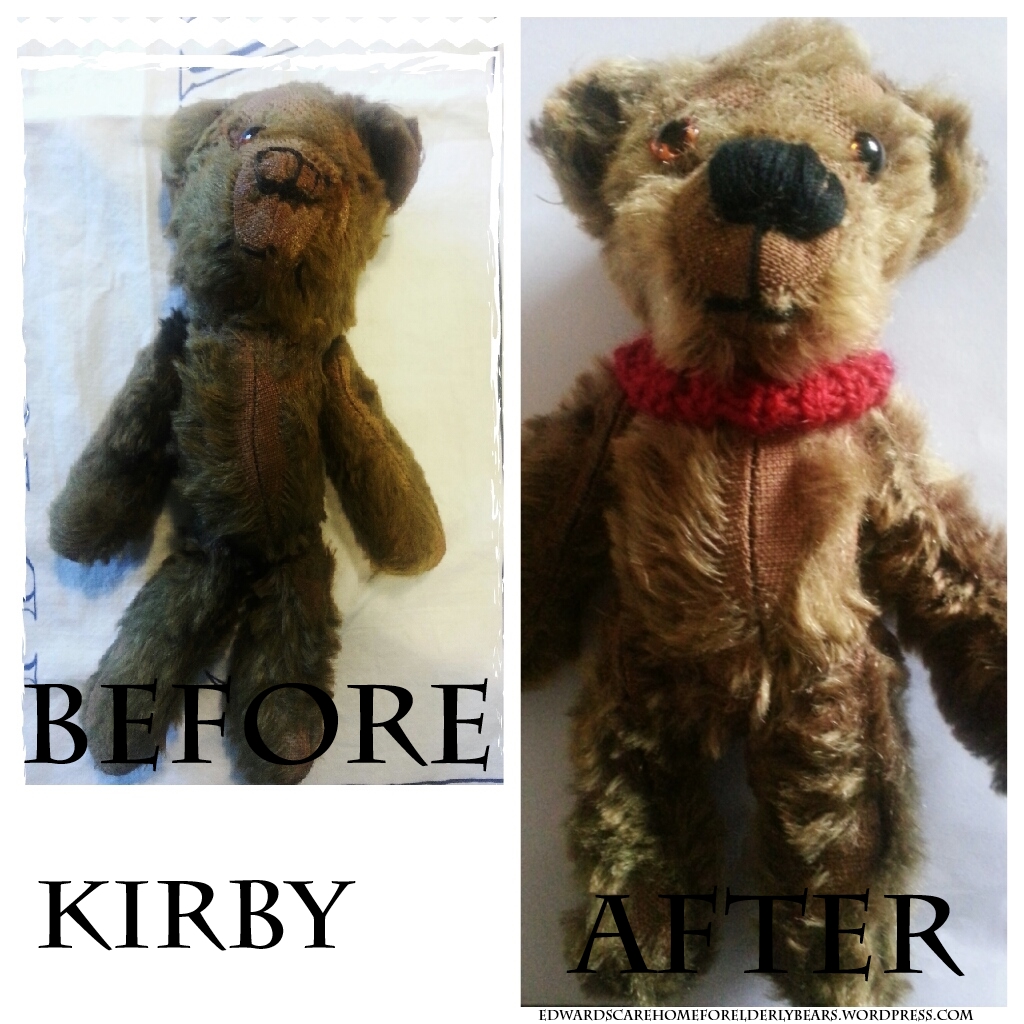
On a very, VERY foggy December day I was sat at home keeping my human friend company like a good bear does. She recently had a big operation and is feeling pretty low and poorly, it wasn’t very nice for her so I had a think about what might cheer her up and I thought I might write about Kirby, a friend of mine, and how I restored him back to health from the brink of the ultimate teddy bear death – the bin!

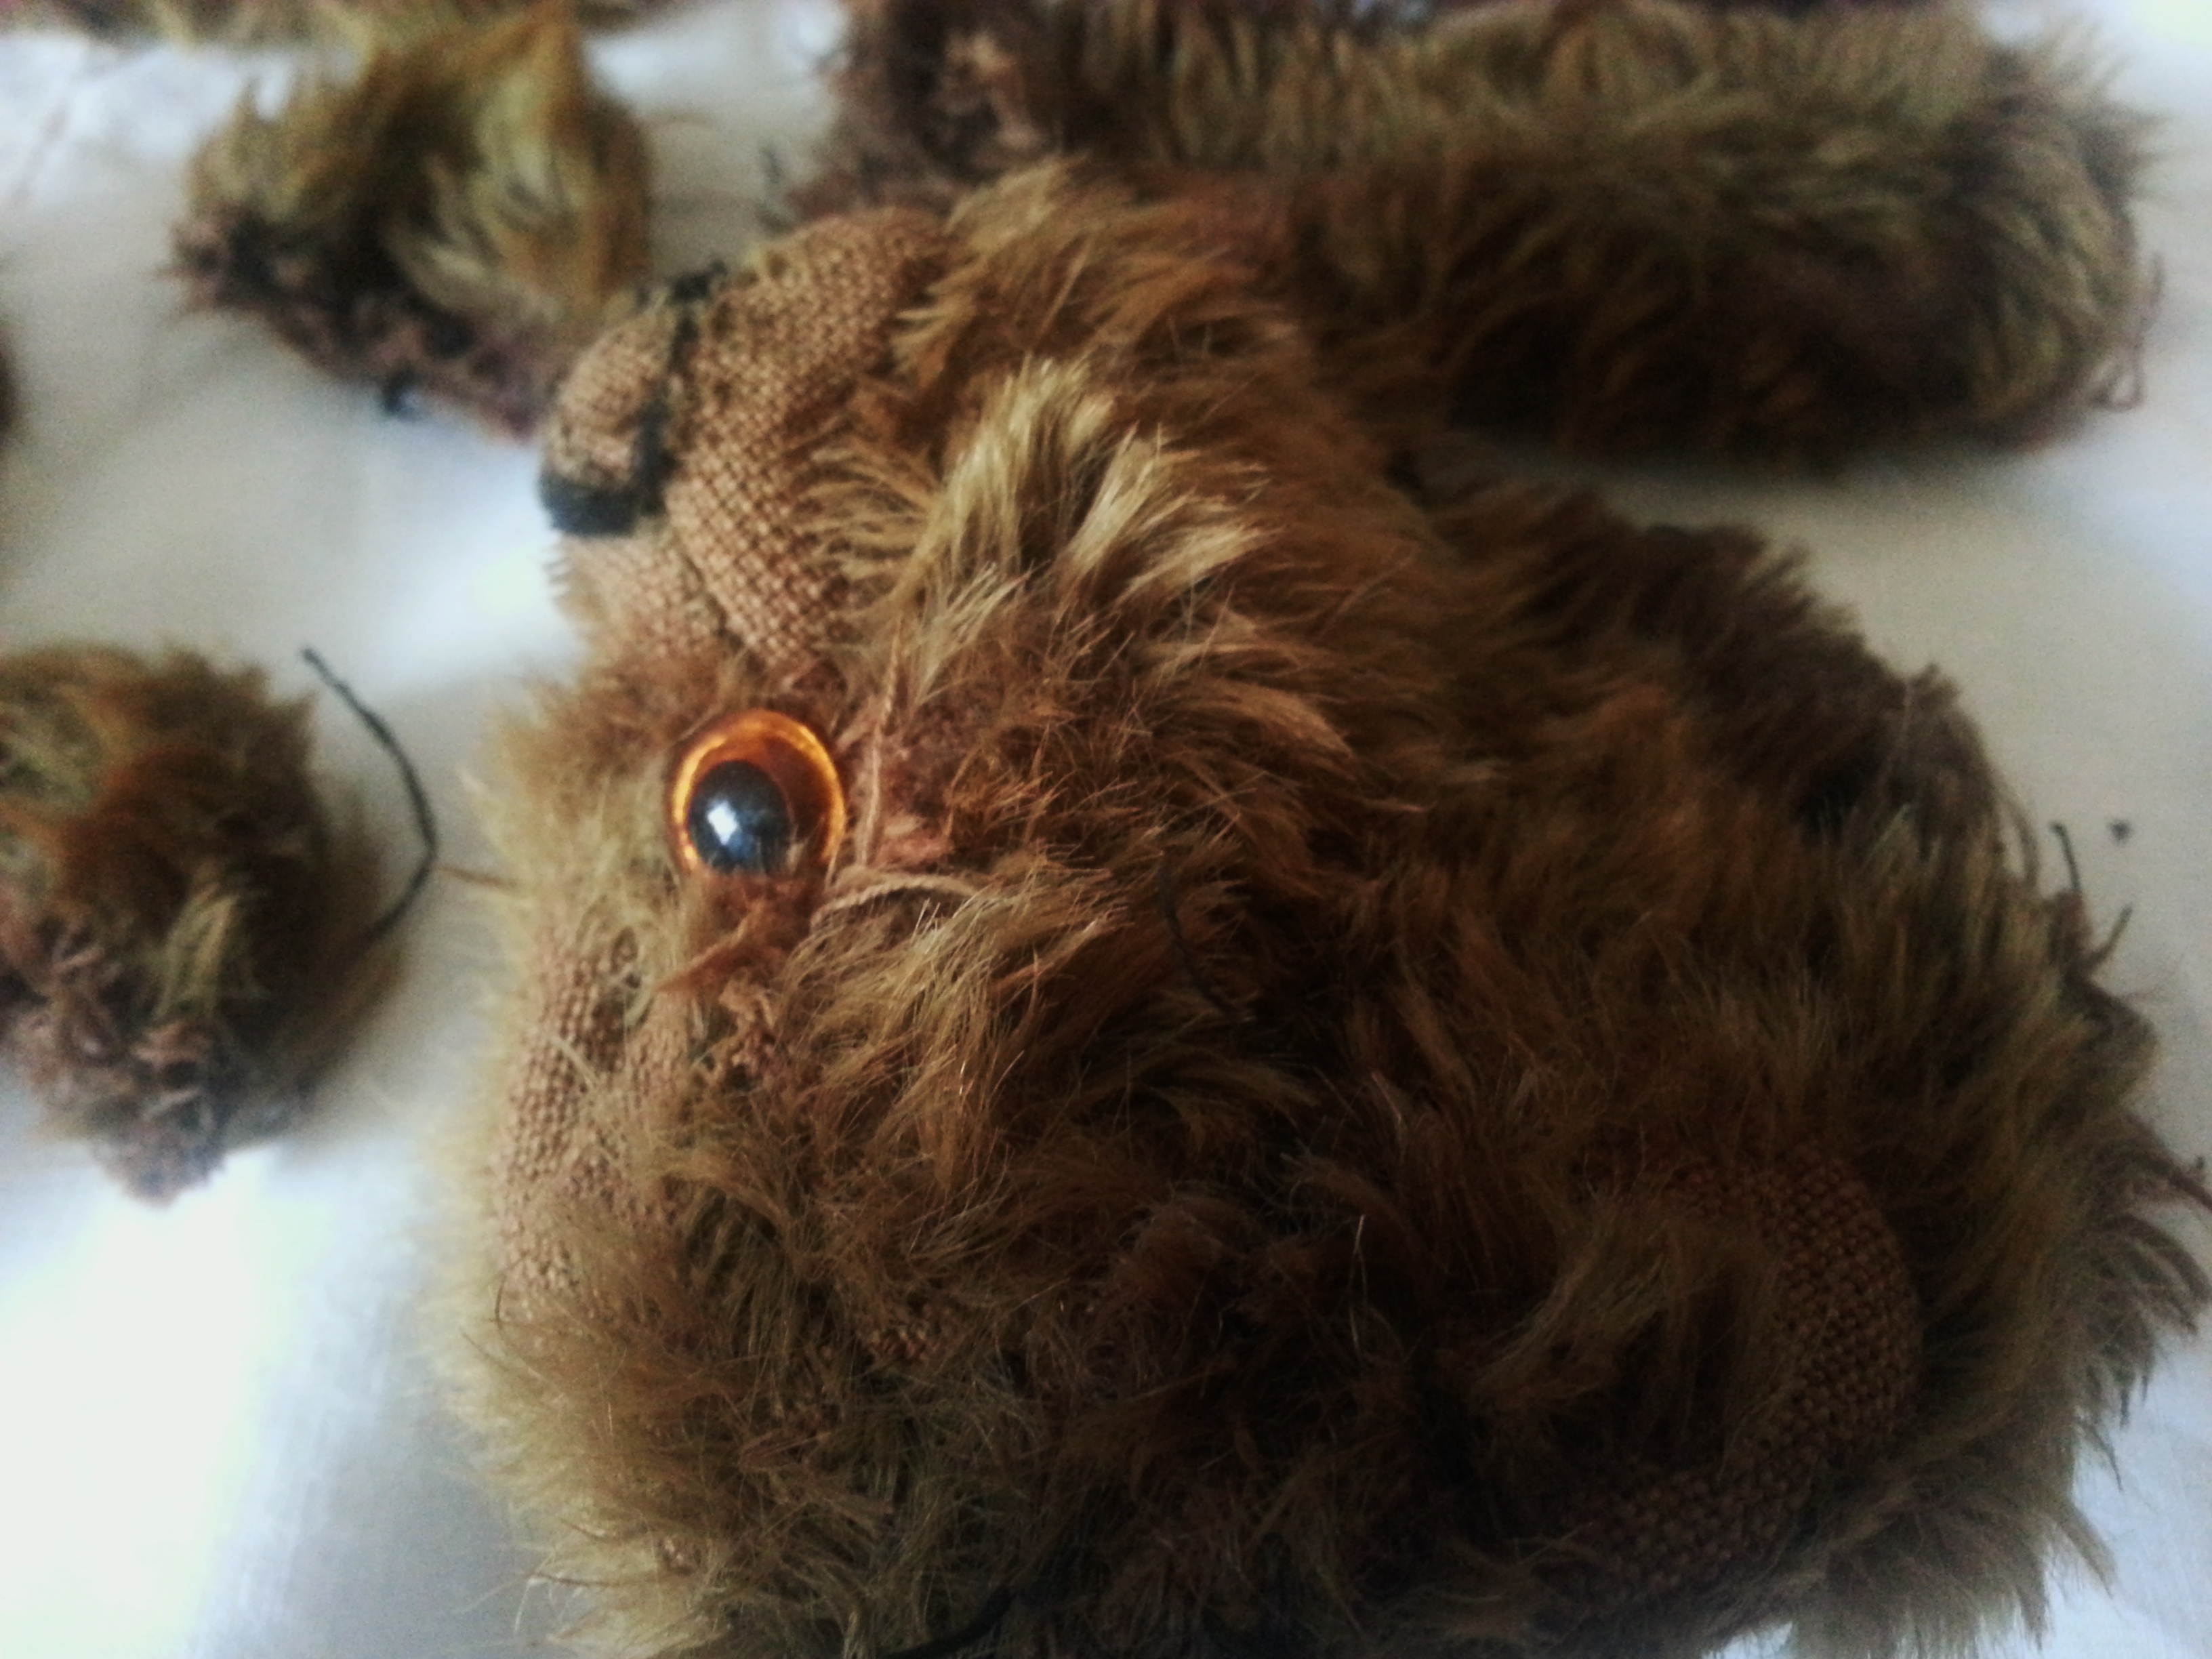
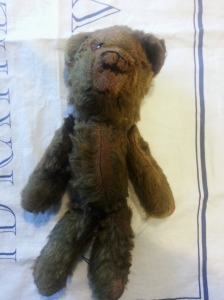
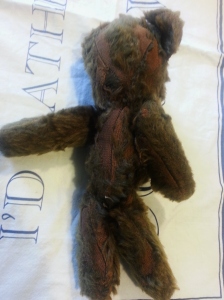
Kirby is a late 1940s teddy bear. Very small and in the worst state. He absolutely, completely and UTTERLY…there is no real way I can possibly describe without using a bad word, I mean HUUUGGGEEEELLLLLYYYYY, monumentally, was THE MOST, disgusting smelling bear I have ever met in my life.

20131211_103314

When Kirby arrived at the door I was quick to pull his package open, I found the edge and wildly pulled as hard as I could to release him from his plastic postage envelope, in that instant I immediately regretted what I had just done, like mustard gas, the smell puffed out with great speed as I pulled, it wafted straight into my face and entered my mouth and nostrils! I bent over double and began to cough and splutter, eventually dry-heaving a few times before I managed to pull open the front door for air and regain my decorum.

Look at him, does he stink? – OH MY GOD HE DID!

20131211_103334

Kirby was indeed a sweet little bear with splendid manners, he often apologised for his smell and was very embarrassed but sadly that couldn’t make up for the ravages of time. Kirby smelt like the inside of a chain smoking 1000 year old hag, a Disney witch with a constant supply of Marlboro Reds hidden inside the wart of the end of her nose…actually he also looked like one too. The horrific stench of old nicotine had permeated his sad withered body, he was sticky to the touch from a thick coating of nicotine and he also had a weird chemical plastic smell..this bear was vile.

I used to work in a pub once upon a time, do you know the smell of an old REALLY over-full ashtray that old smoking bears have filled up of an evening, one that has had old beer sploshed in it and then been taken out to the beer garden where it has been left out in the rain for a week or so, so the smell can really grow and become foul…well if you did that to the sea and then poured some burnt hair and plastic and then scraped out the lungs of a chain smoking whale and Disney hag then mixed it all in a bowl and baked it in a teddy bear…that is somewhere NEAR the smell of Kirby..poor guy.

SO anyway, Kirby went in a box with some mothballs…for two months.

Then this foggy day I mentioned, well, it came around and my friend was ill and there was nothing to do and so I decided it was time to be brave and open Kirby’s mothball box and fix him up, it was that or the bin and a bear never says ‘die’ and so it began…..

HOW TO RESTORE A BEAR THAT IS REALLY BEYOND ALL HOPE.

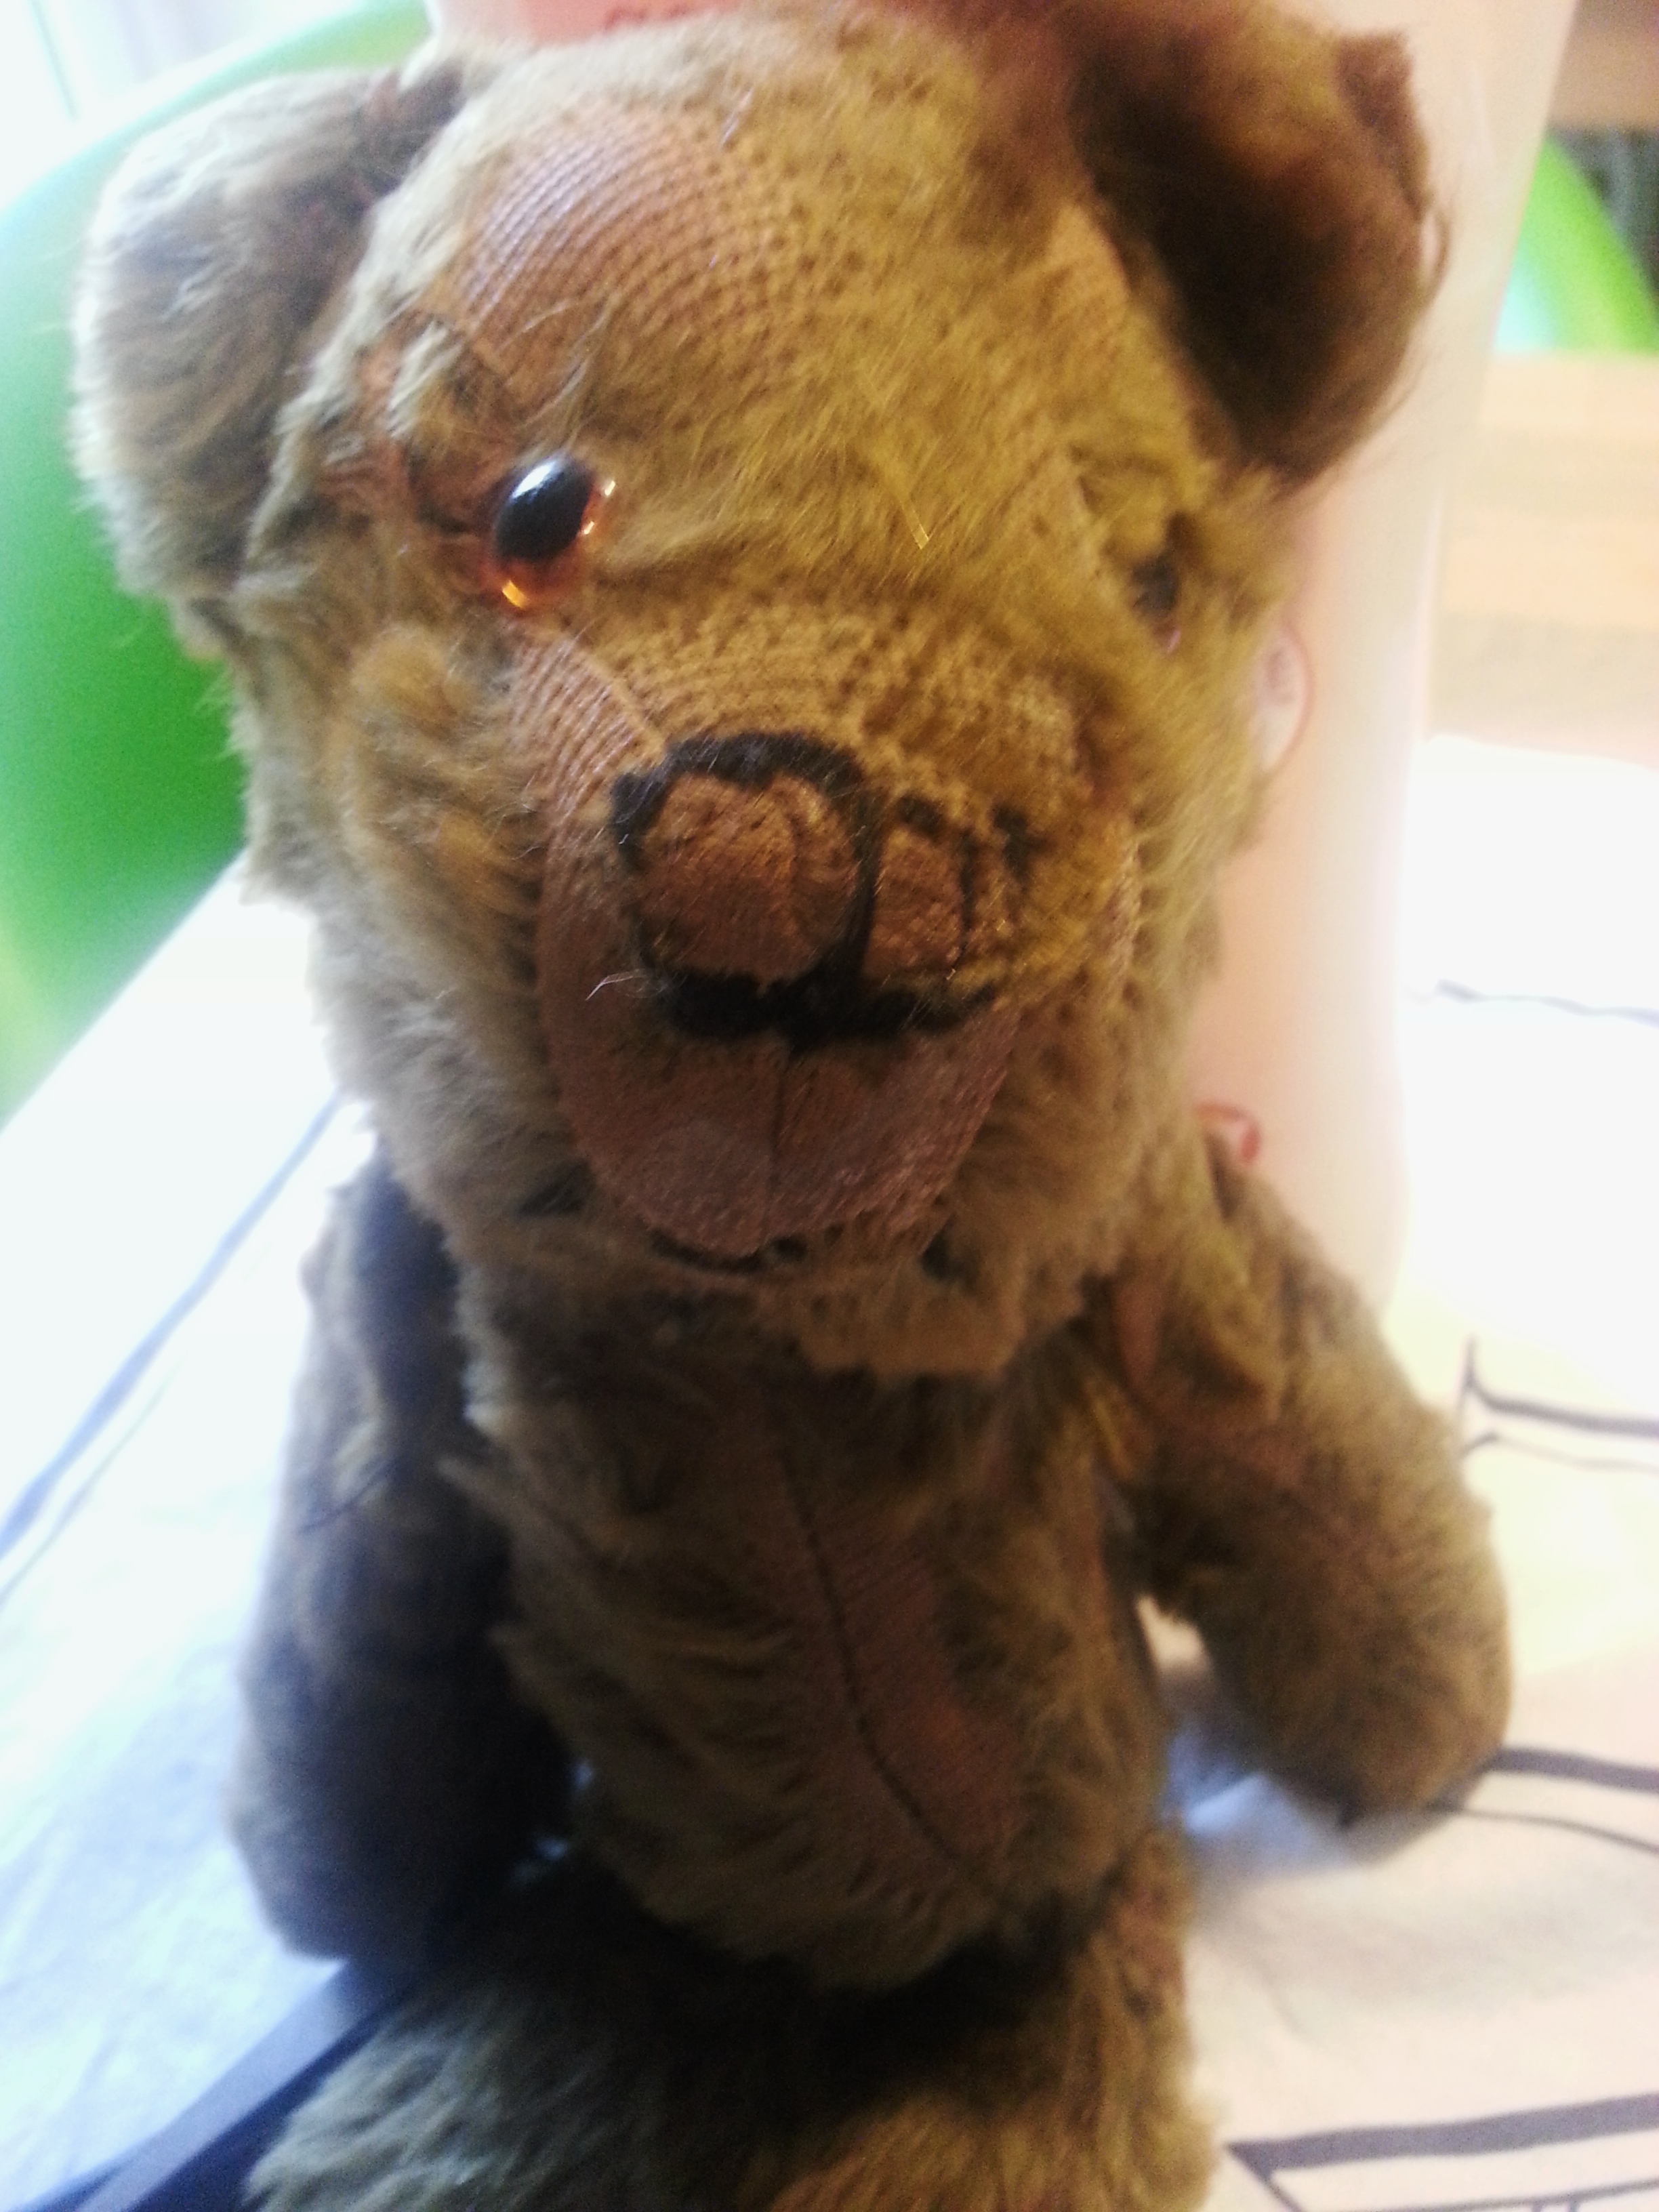
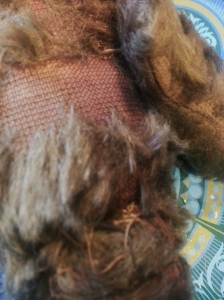
1. Look at your bear – look at the qualities you like about the bear, at this point it could well be that it is beyond all redemption and you can’t see a good quality at all, if that is the case then I am your bear, send your teddy to me, if not, then identify the qualities that you want to keep. Photograph your bear really carefully, closely and in great detail from all angles, you will need these pics to remind you of these looks, where bits and bobs went and what parts of the bear you like as they are now because you are about to enter phase 2.

20131211_10332220131211_10341420131211_103433

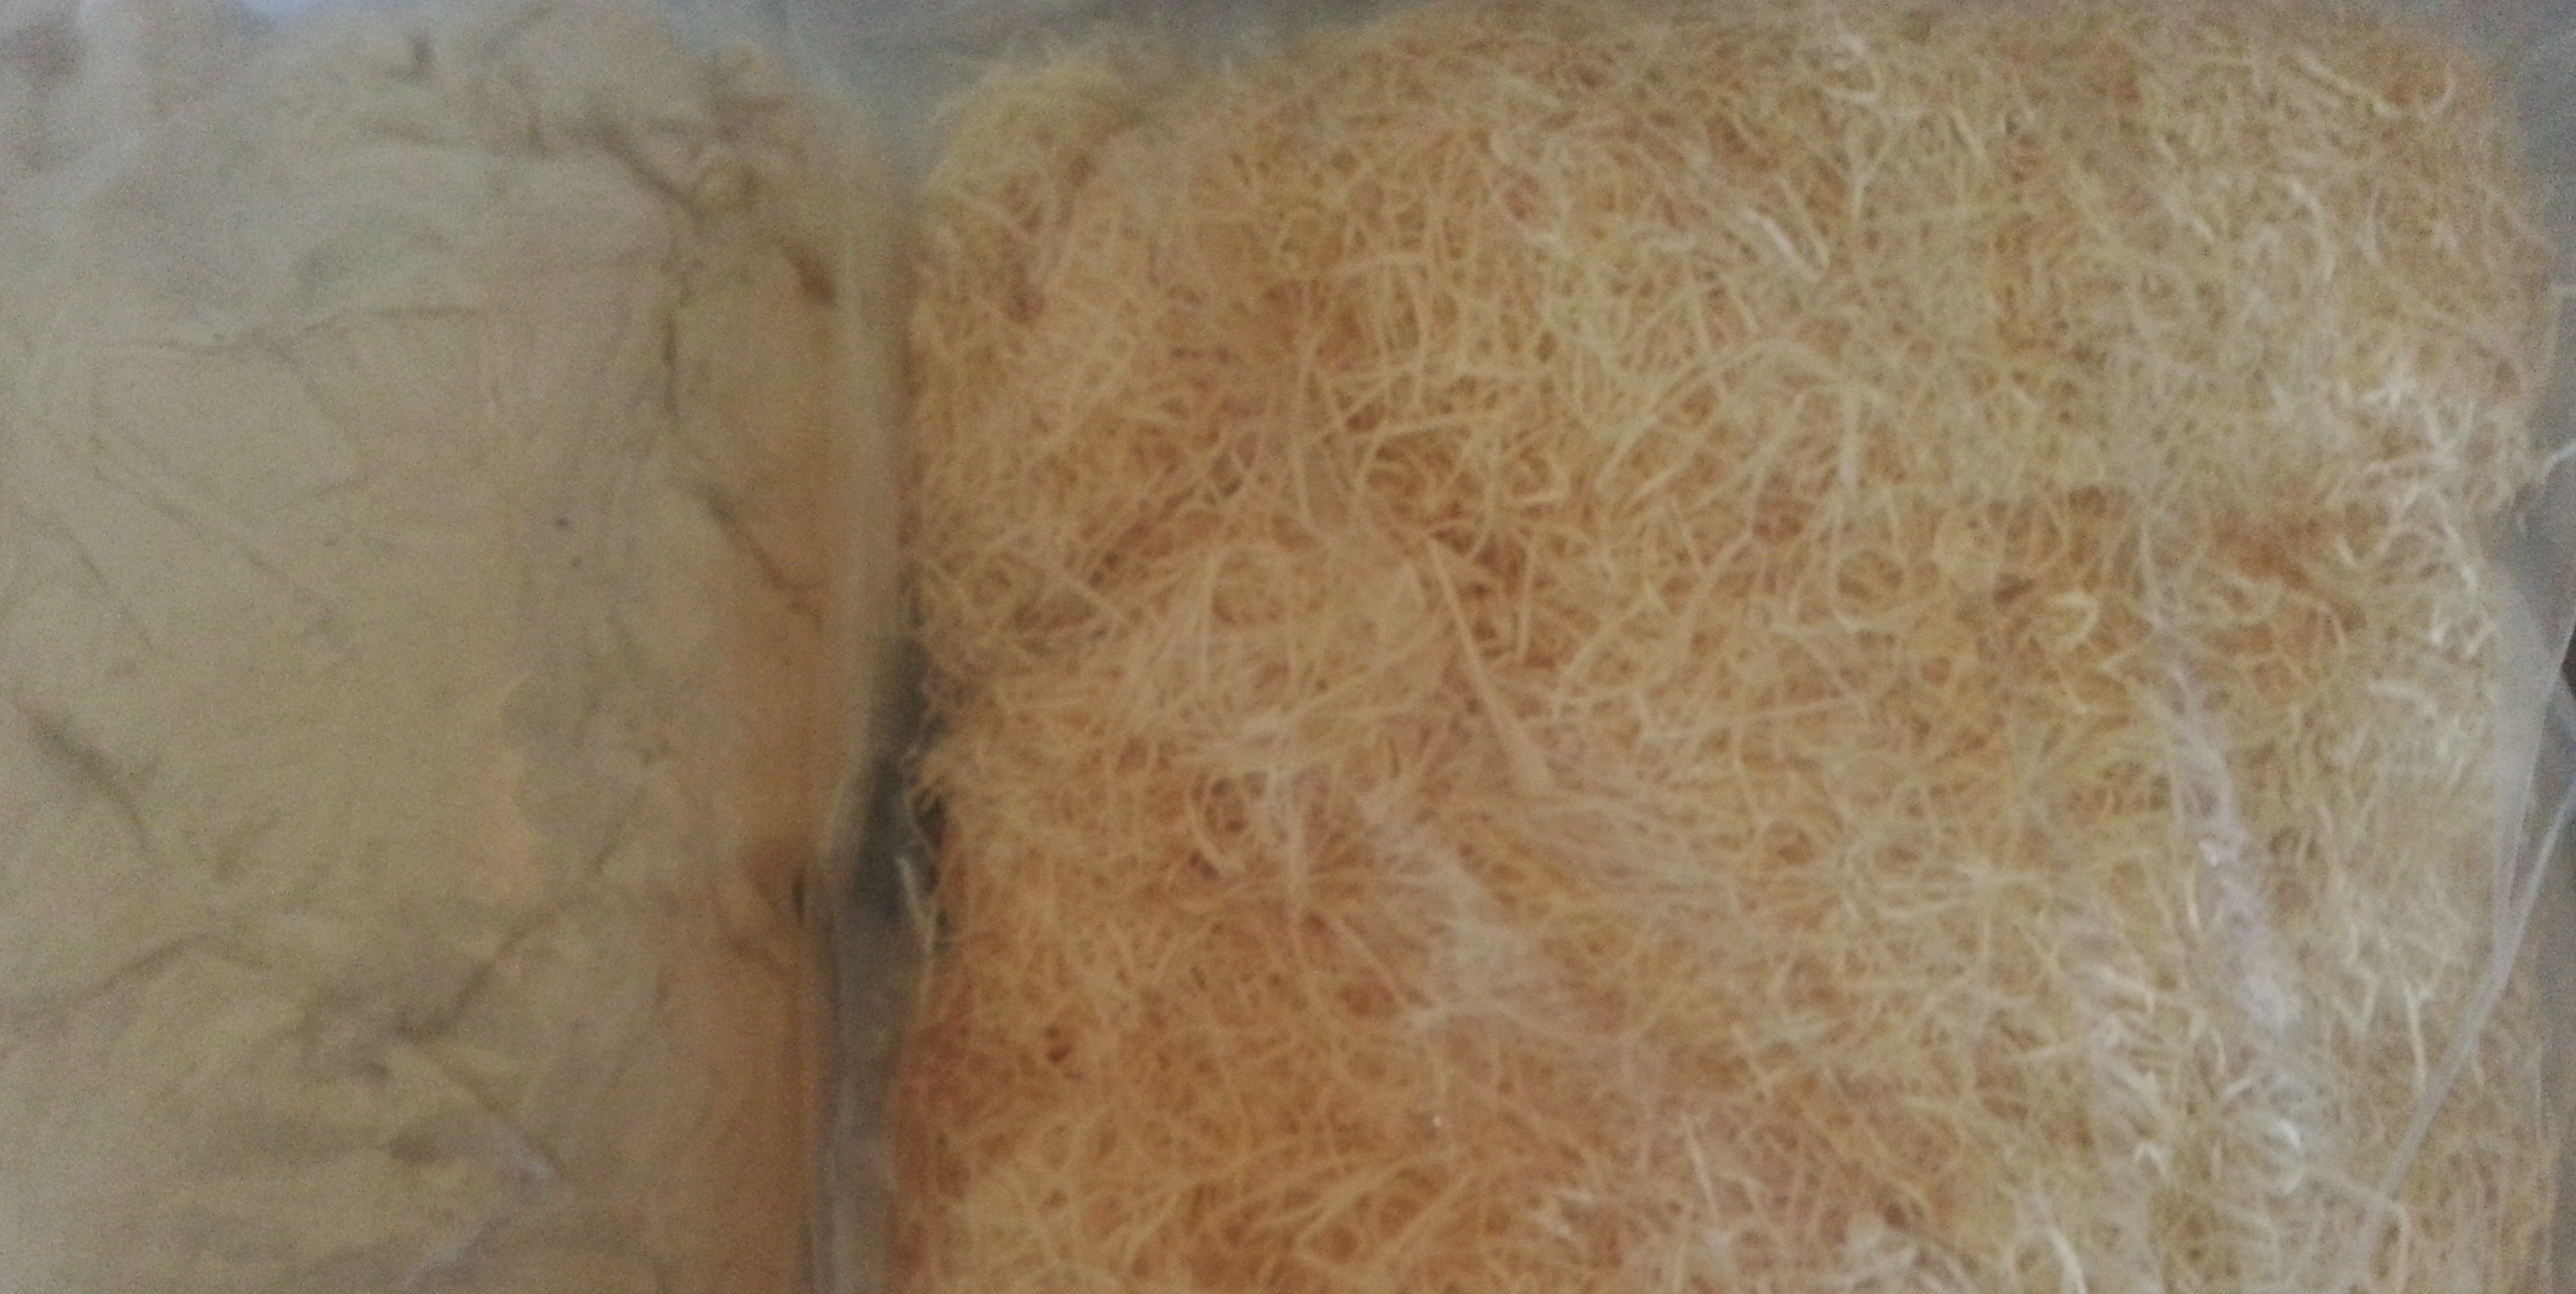
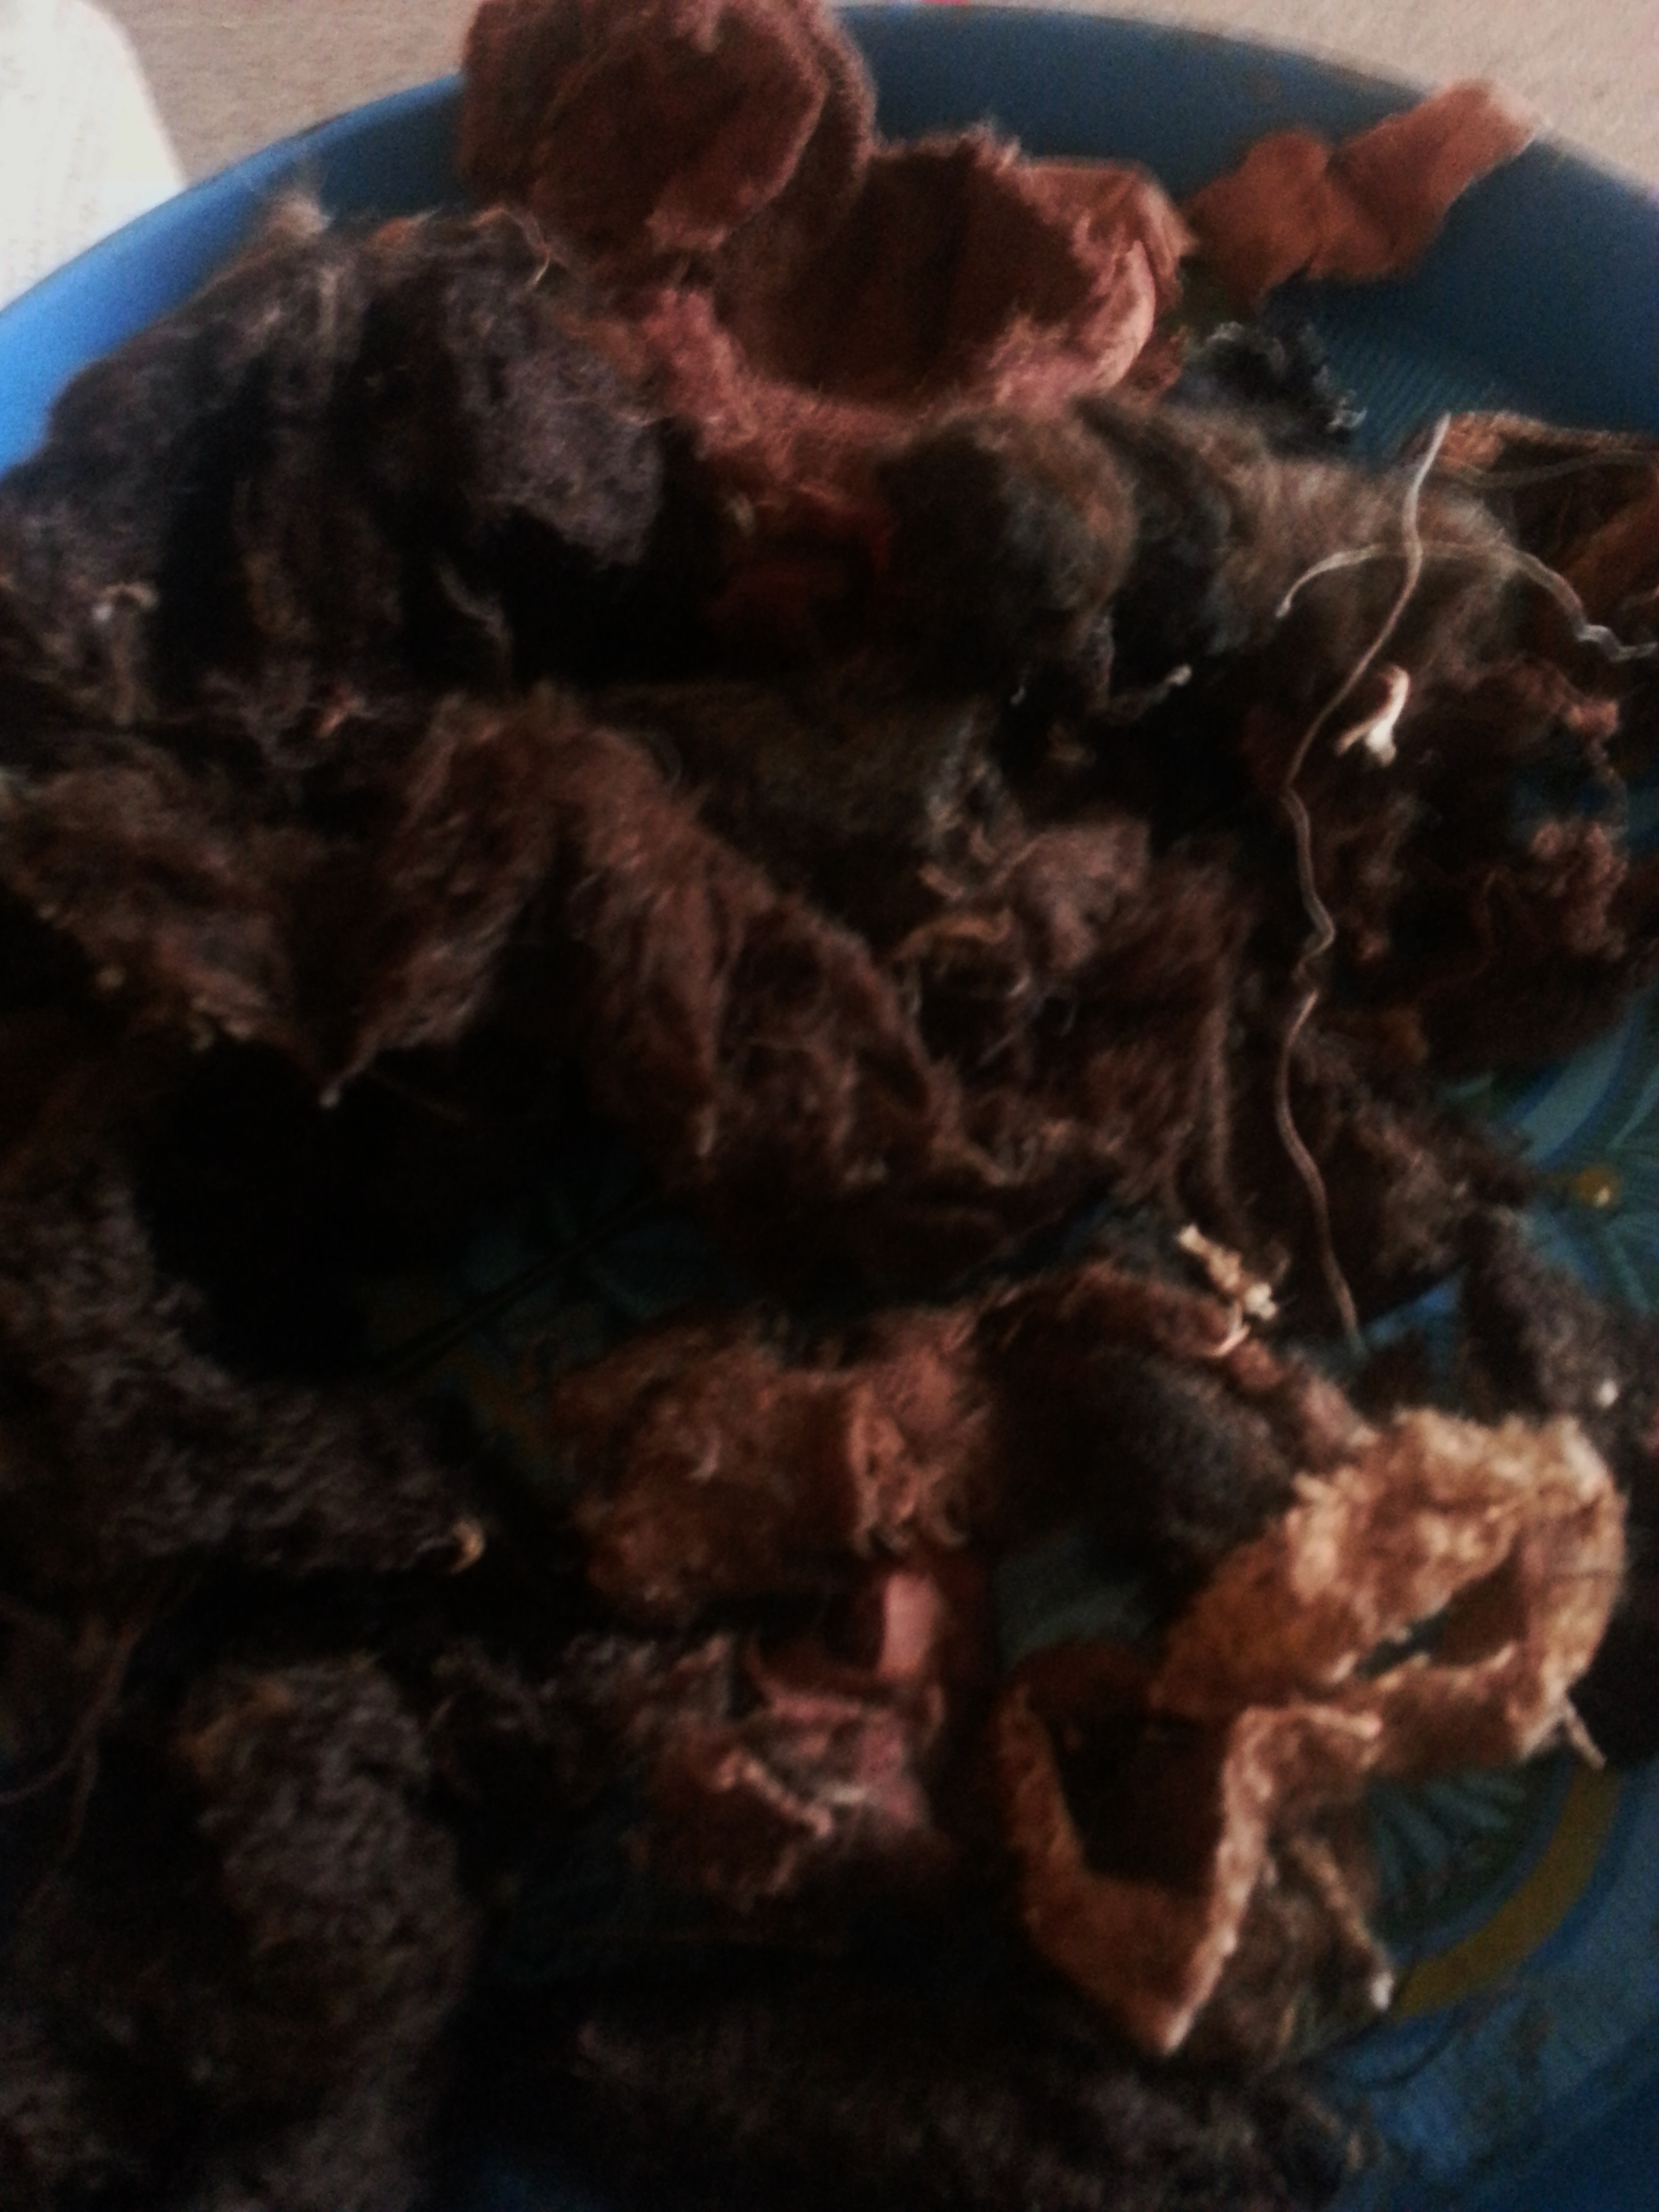
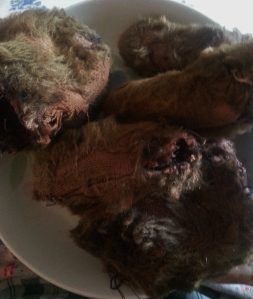
2. Take the bear apart – this sounds really scary, and it is, you shouldn’t do it if you aren’t confident but that said, at this point your bear is about to go in the bin so what the hell, carefully open the front or back seam, gently pull apart the stitches and remove the filling (you can choose to keep it but if your bear is as rank as Kirby then my advice would be to get rid. All kinds of baddies live in old bear fillings and can actually make YOU ill (and your bear) so please think before keeping it. You can buy kapok, toy stuffing and wood wool online and they are all worth the investment to save an old bear..a little goes a long way so you can always buy more broken and disgusting bears and fix them up – like me!

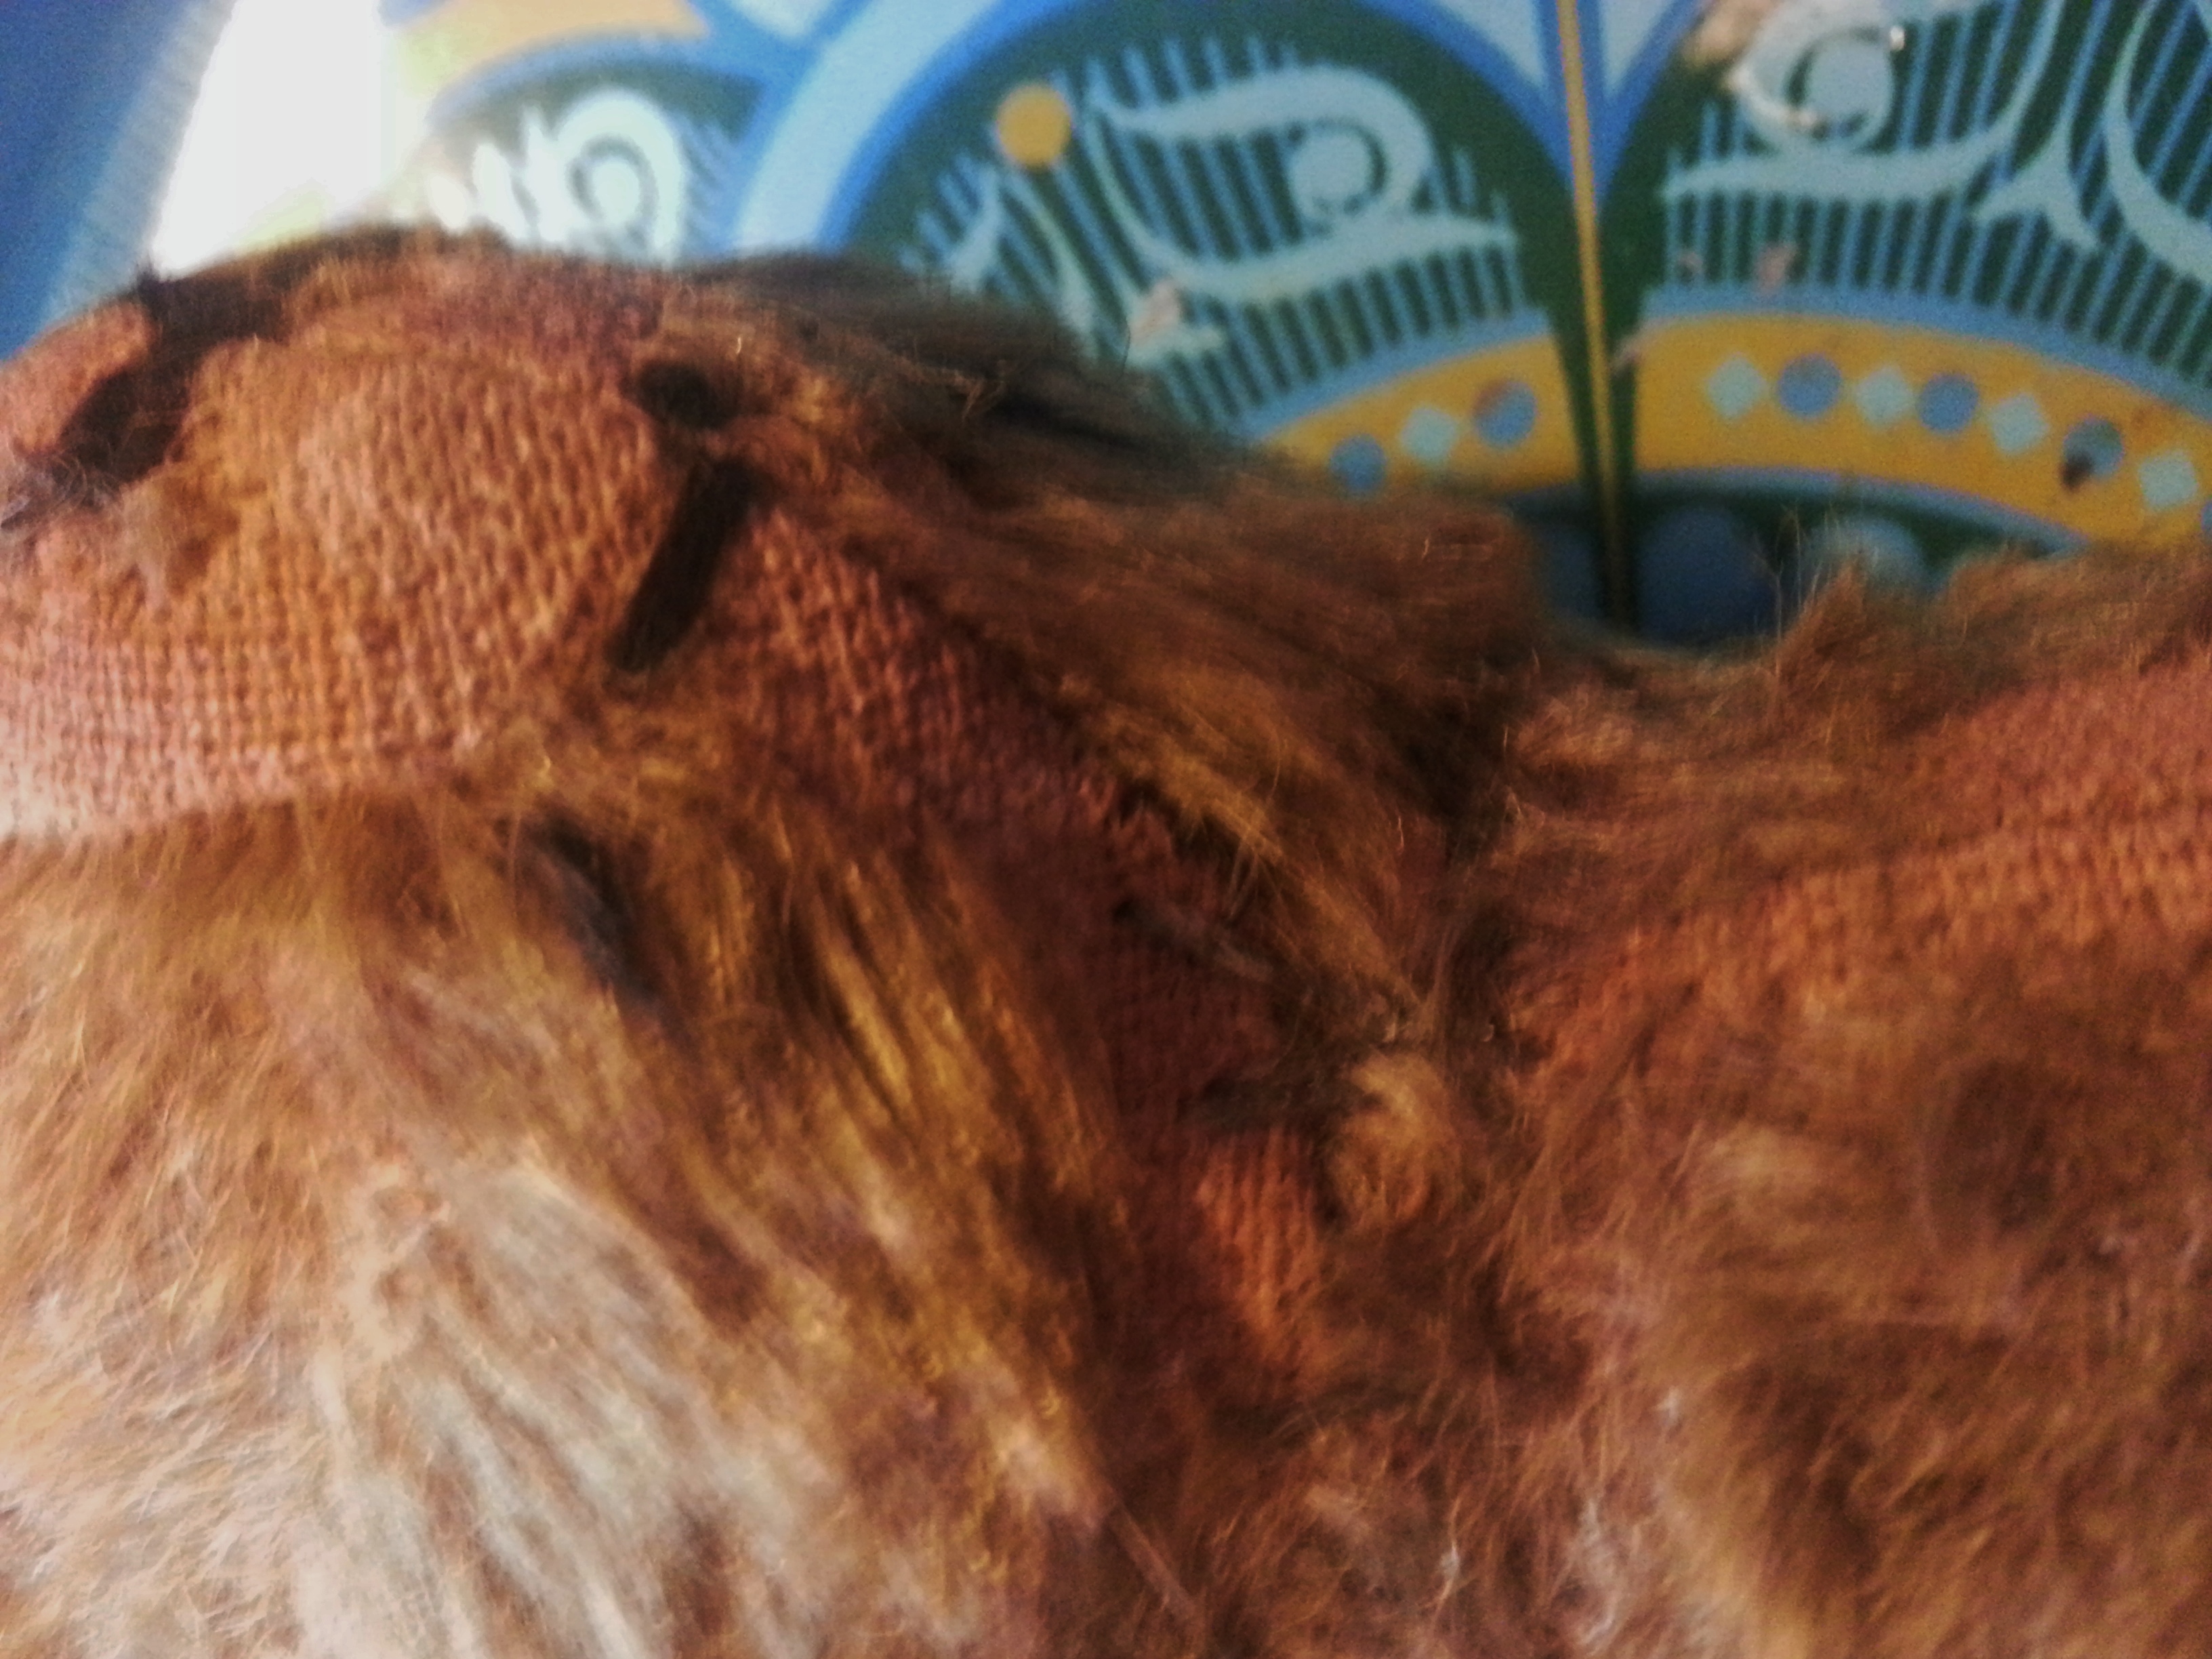
Once you have taken the filling out you can unwind the cotter pins and pull the limbs off gently (in the past I have had to cut some old rusty cotter pins with metal snips but you can also re-buy cotter pins for very little) where possible please save the discs as they can often be re-used! If your bear is like Kirby it wont have any joints and you just have to cut the twenty thousand bits of cotton that have been used to stitch his limbs on because that it what IS needed to hold on a tiny teddy bear leg/arm !?

Then you will need to unpick the seams at the tops/backs of the arms and legs and remove the stuffing there too.

20131211_111912

Kirby was filled with wool-waste. Wool waste was used from the 1930s onward as a cheap alternative to kapok and wood wool. It is vile and the bits of fibre fly around and get in your lungs so cover your face if at all possible lungs and ancient wool fibre = painful and disgusting cough and misery.

20131211_111920

3. Remove eyes – What I just said, you should do that and then store them somewhere safe so you wont lose them. Glass eyes are expensive..keep them for later! If you don’t have any to begin with, your blind bear can find glass eyes on Ebay but unless you get lucky, they tend to be a little pricey bearing in mind they are only tiny!

4. Check – once you have removed all the insides and the eyes, check that there are no lingering bits of filling anywhere, they will make stage 6 pretty gross..so really check your bear is empty!

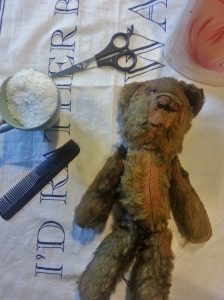
5. Prep – prep your cleaning area. you are going to need a clean towel, a tiny cup of decent washing powder, some fabric conditioner, lots of water (so be at a sink) scissors and a comb. NEVER, NEVER, NEVERRRR, ever wash an old bear without removing the insides first and if your bear isn’t on its very, absolutely last legs, please don’t go to all the trouble mentioned above..you can easily restore a normal ‘grubby’ bear with a damp cloth and an extremely gentle dab/wipe with baby shampoo suds – this method is for near-death bears only!

20131211_103209

6. Wash – Right, now you need to run some warm water into a plastic sink bowl and pour in that cup of washing powder you put nearby…once the sink if fairly full you can submerge your bear in the water…once again, just to be clear, NEVER, NEVER,NEVER ever put a bear that has not been taken apart and emptied of its filling, in the water…you will destroy it and it will be awful and you will cry and curse and blame me..so please, please, please don’t do it.

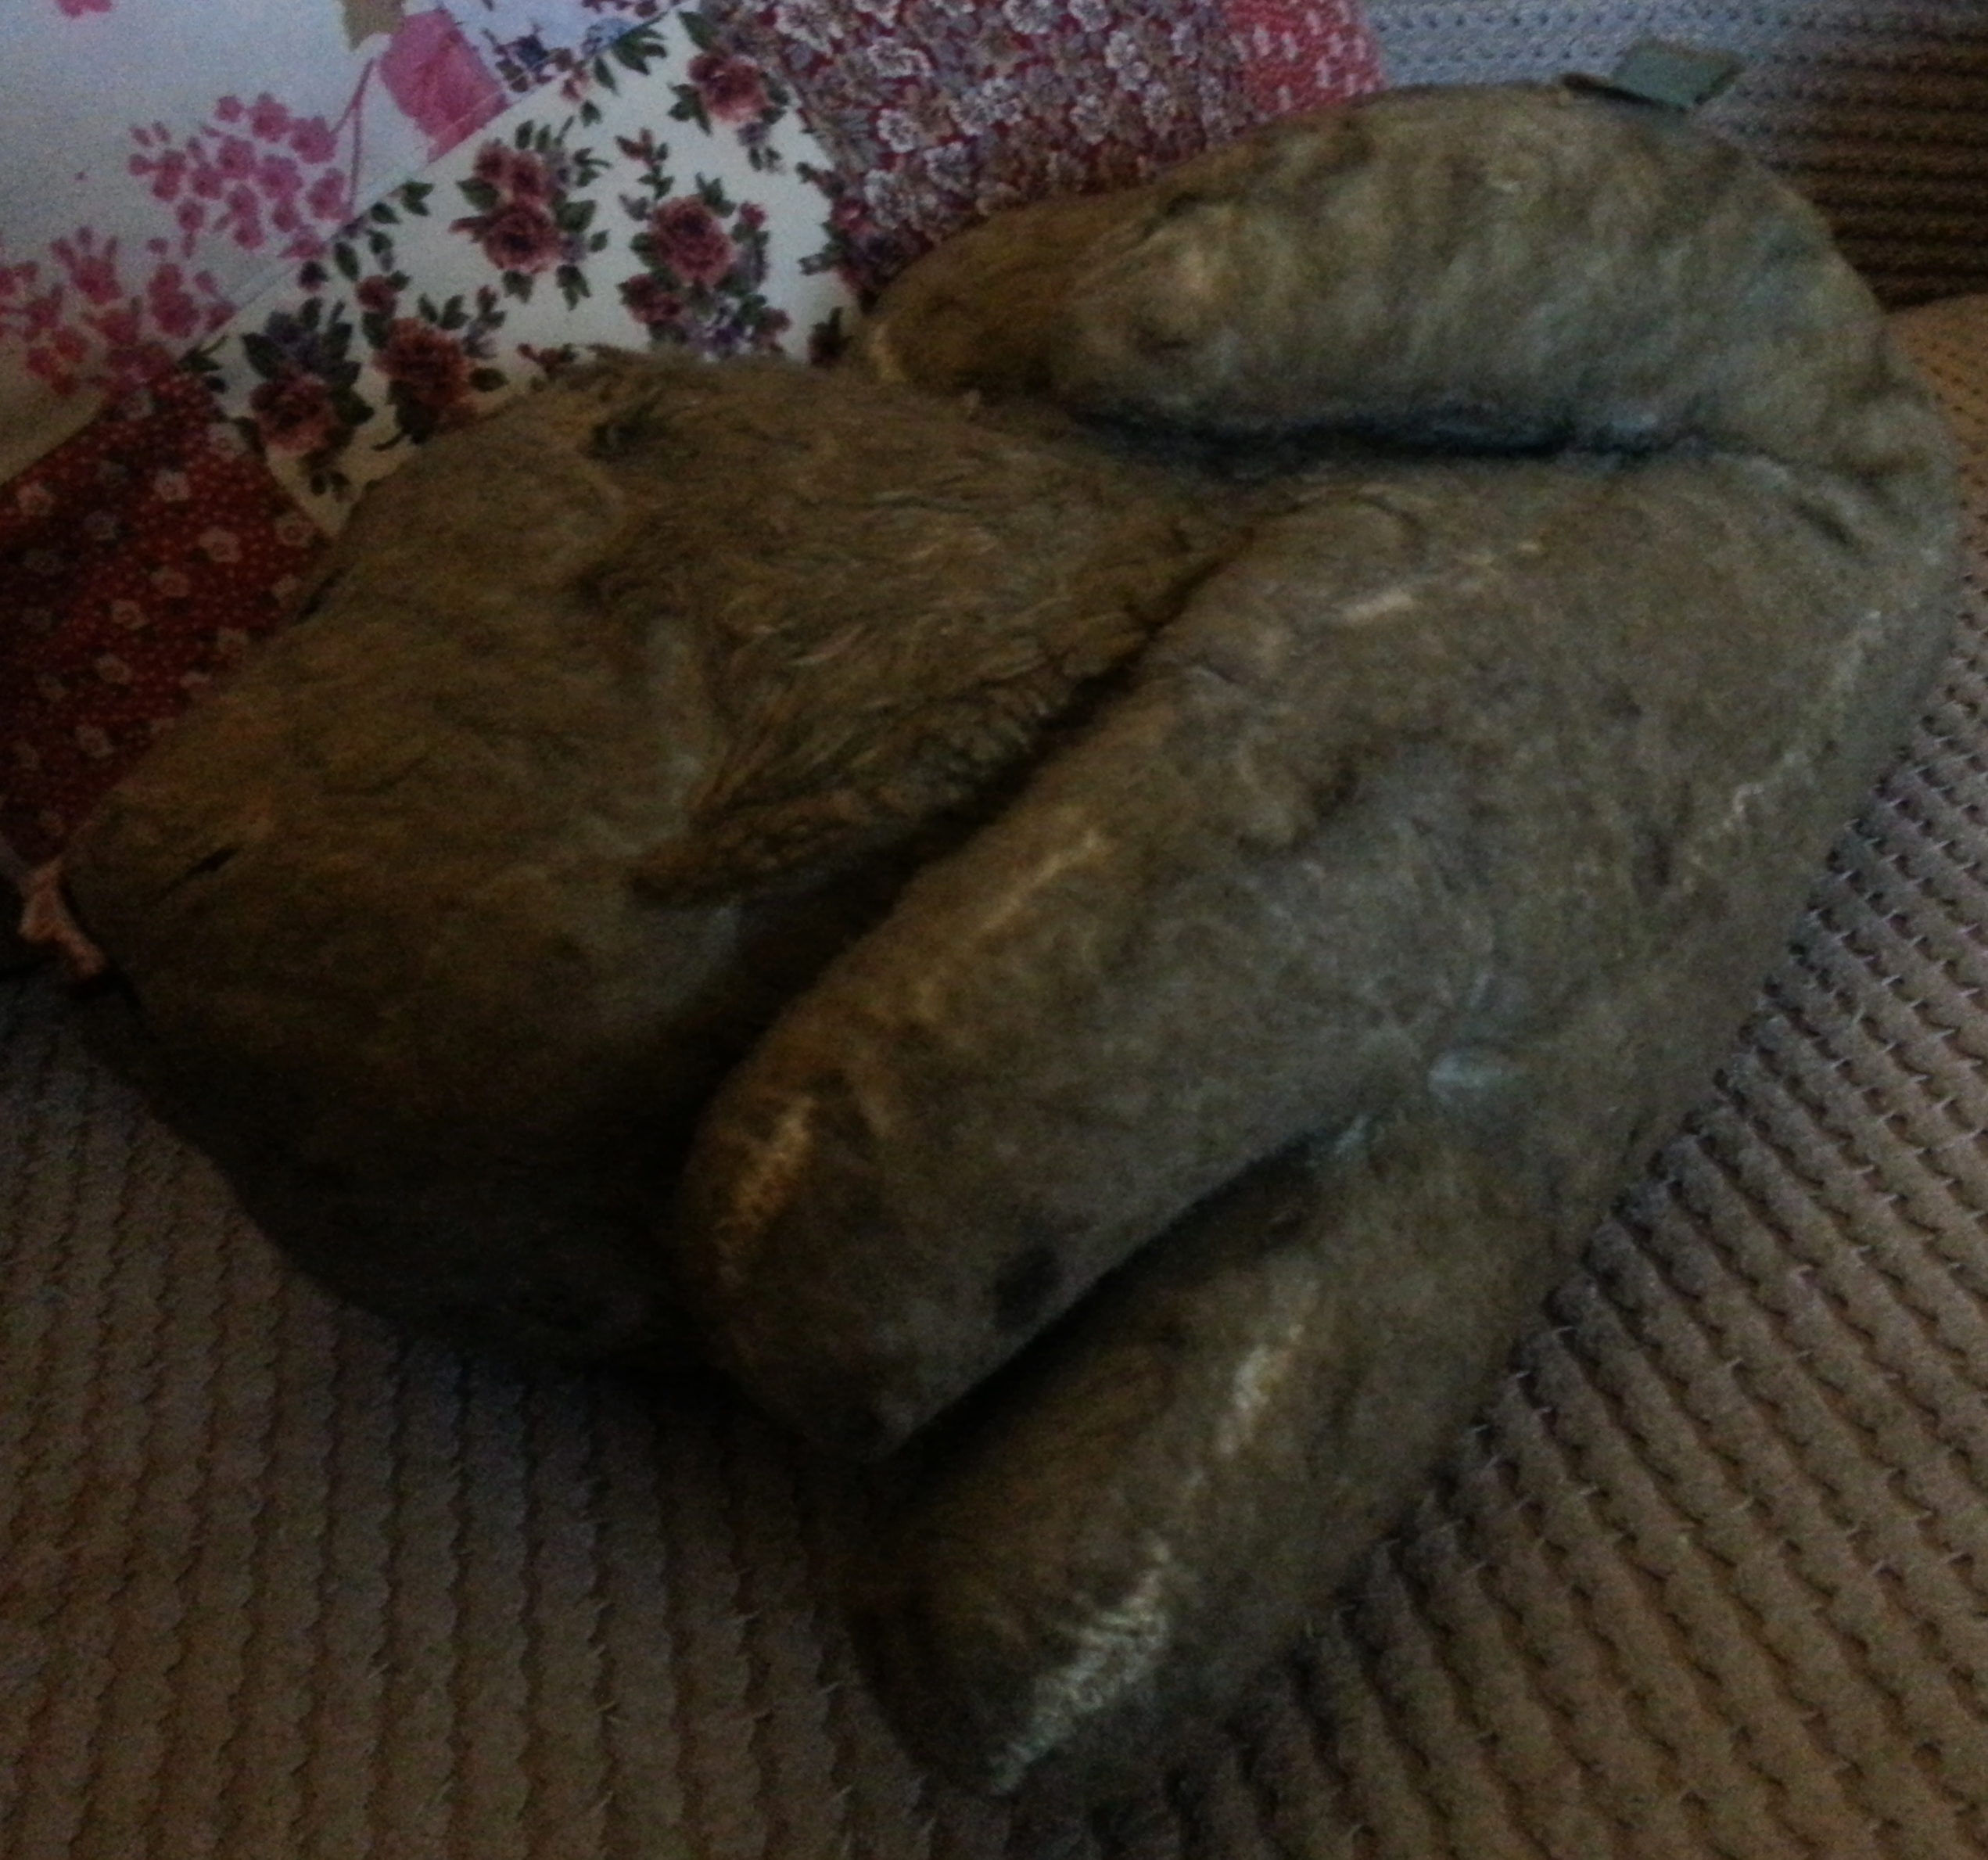
Once your near-death bear is in the water you can either leave it to soak for a while or you can do what I did, you can gently move the mohair in your hands as the dirt comes away (and oh boy, it did) and continue to do this until the water is murky.

20131211_112128

20131211_112023

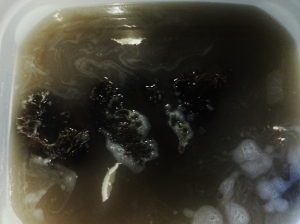
Once the water is really dirty you are no longer helping the fabric, at this point I like to rinse the bear parts under the tap, empty the sink out and then begin the whole process again but without washing powder. The water may turn nasty again, if it does, rinse and repeat until the water is clear.

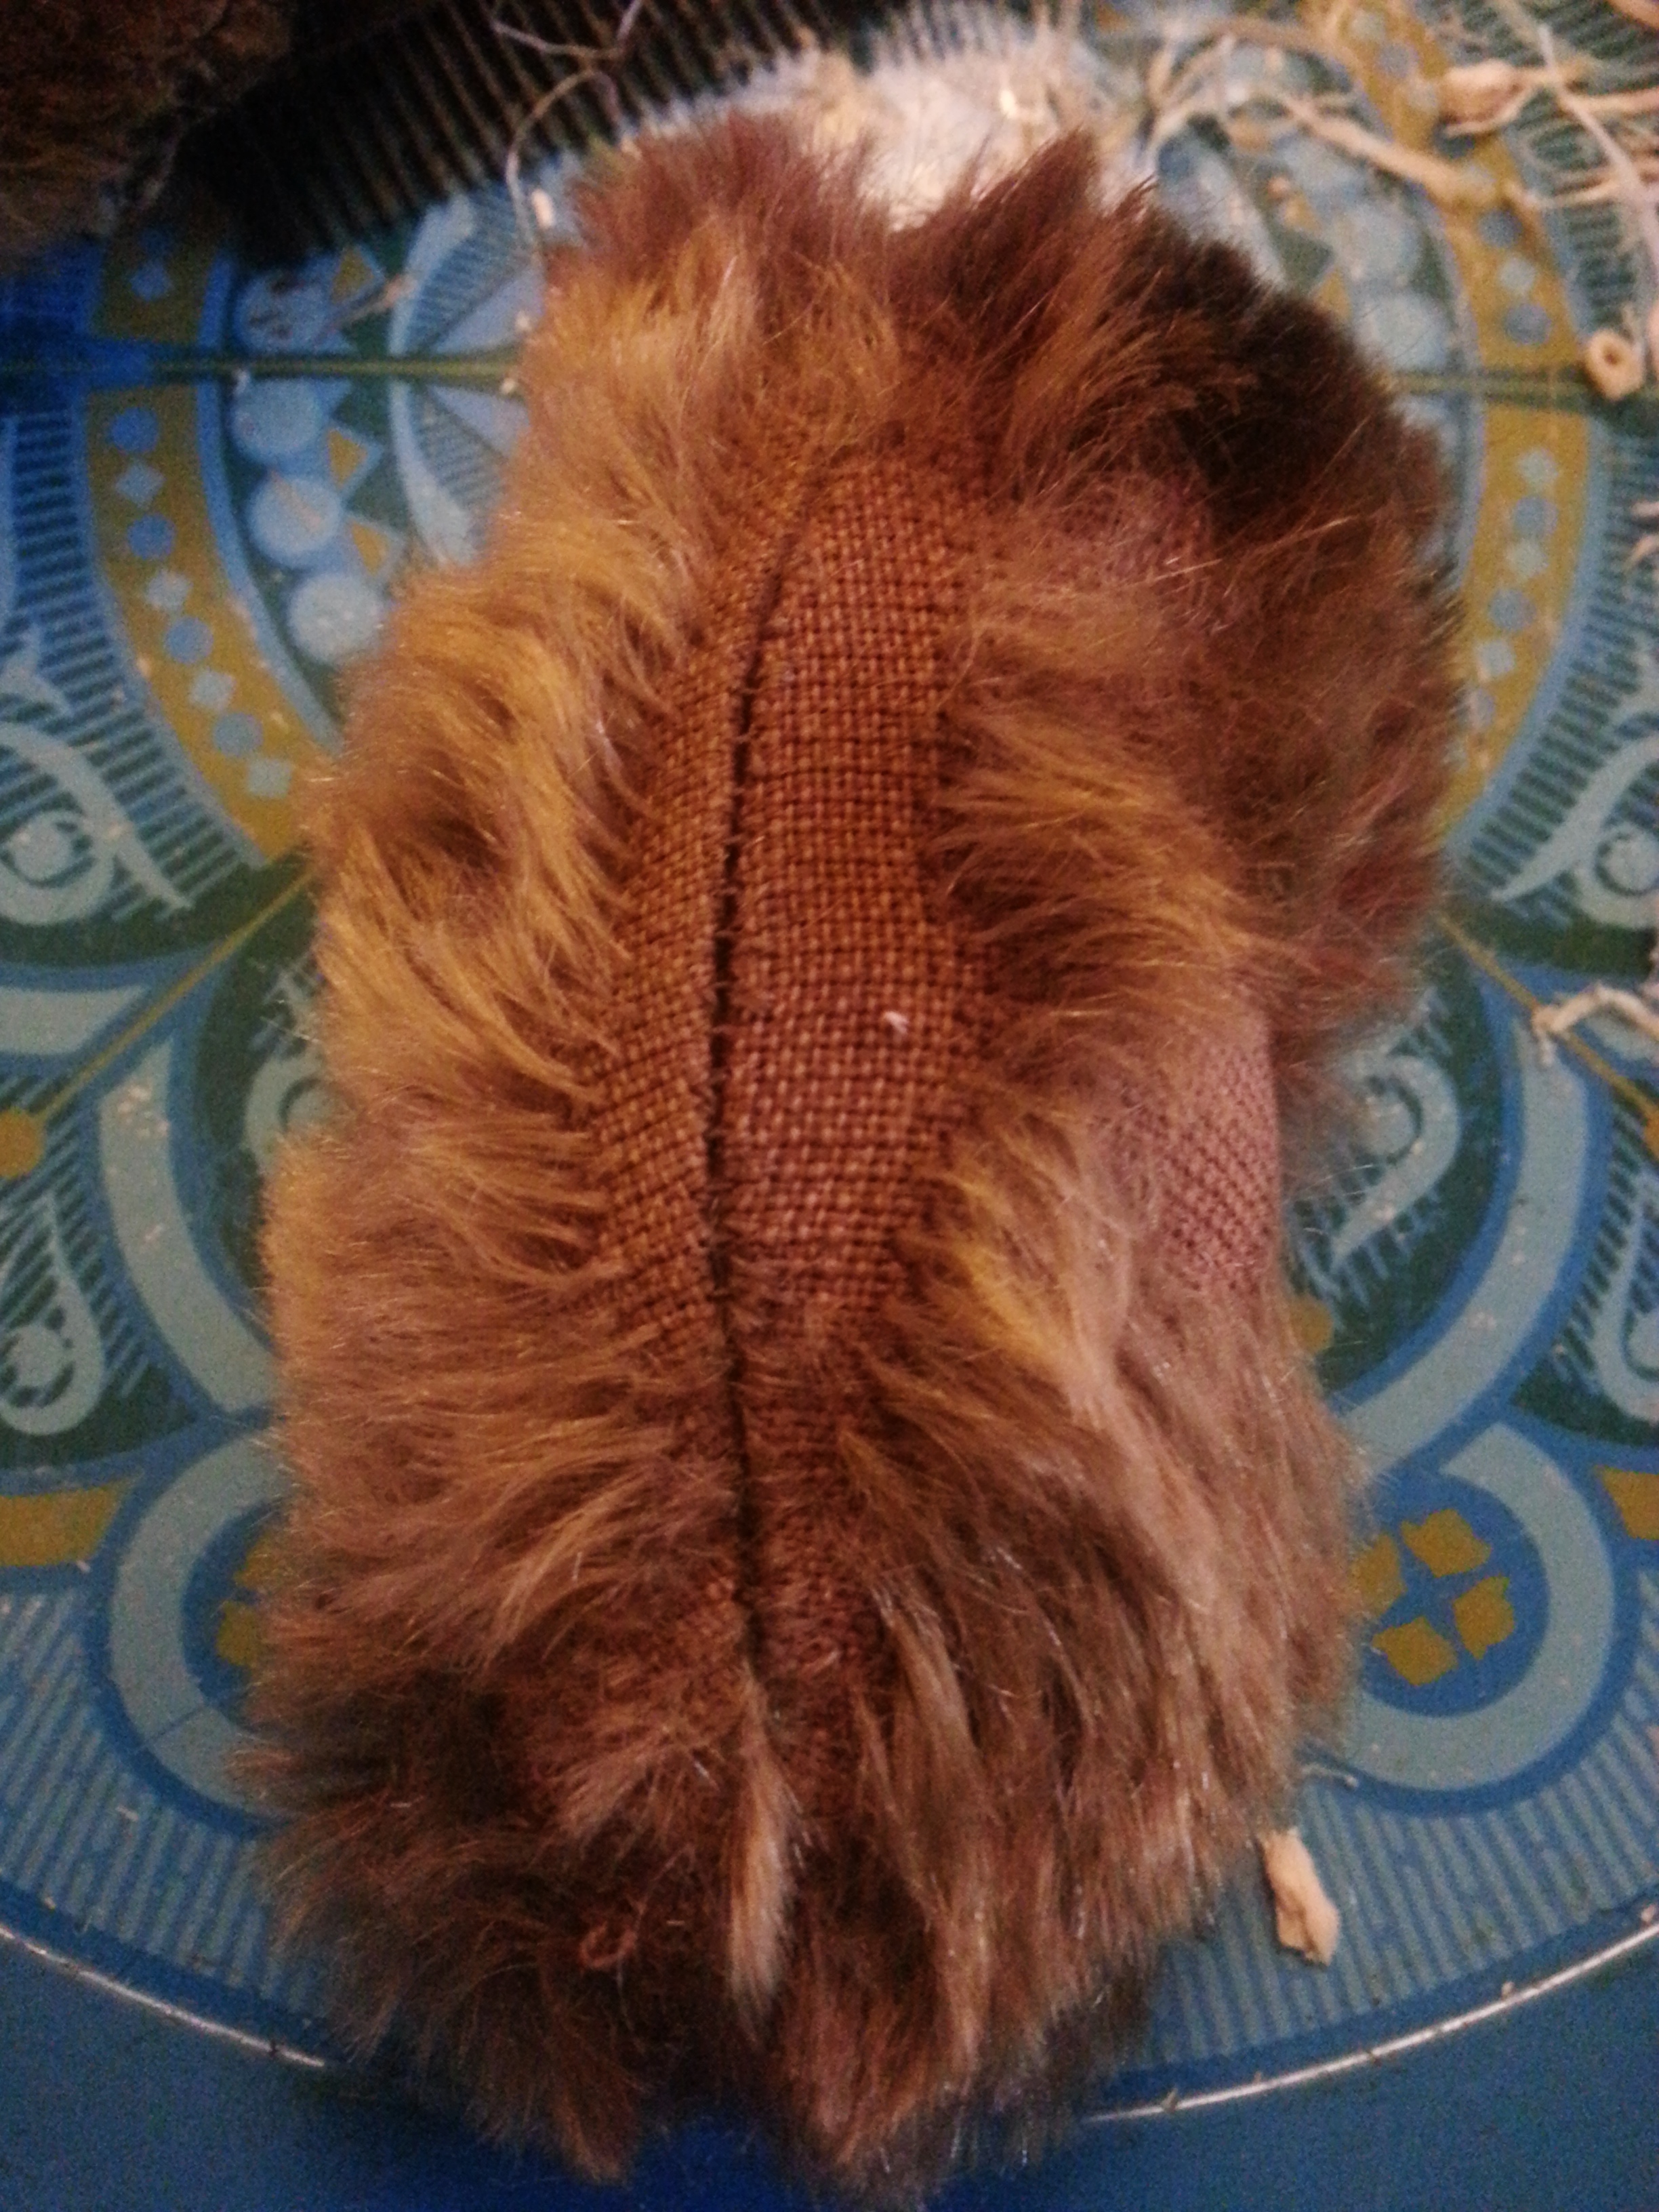
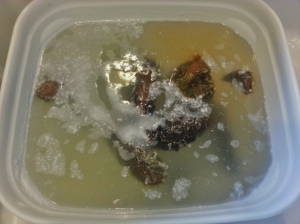
7. Condition – So you like soft hair right? well so does your bear! Now the dirt is gone it is just about keeping your mohair soft and managable for that true salon experience. Fill up your sink about a third of the way, fill with one cap of fabric conditioner and leave for about an hour. Then you have to rinse, rinse, rinse until the bear no longer feels slimy/sticky/conditioner-y

8. Drying – The last point for today is drying. Some people are impatient and can’t wait for the hair to dry naturally..mohair is goat fur and I would wager that if you saw a goat blow-drying its hair you might find it a little weird. Goats do not need or like a blow dry. I like to leave the fabric to dry naturally, blow drying can cause the fabric to shrink and so a warm room in the house should get that fabric dry in 24-hours..that is okay because you made a hell of a mess taking all the filling out, washing the bear and so on, you will be able to use that time to clean up, bake a pie and then you should reward yourself with a nice cup of tea….

YUM

Thanks for taking the time to read, I’ll be back tomorrow with how to re-stuff, re-sew and bring your friend back to life!

Bye for now friends xx